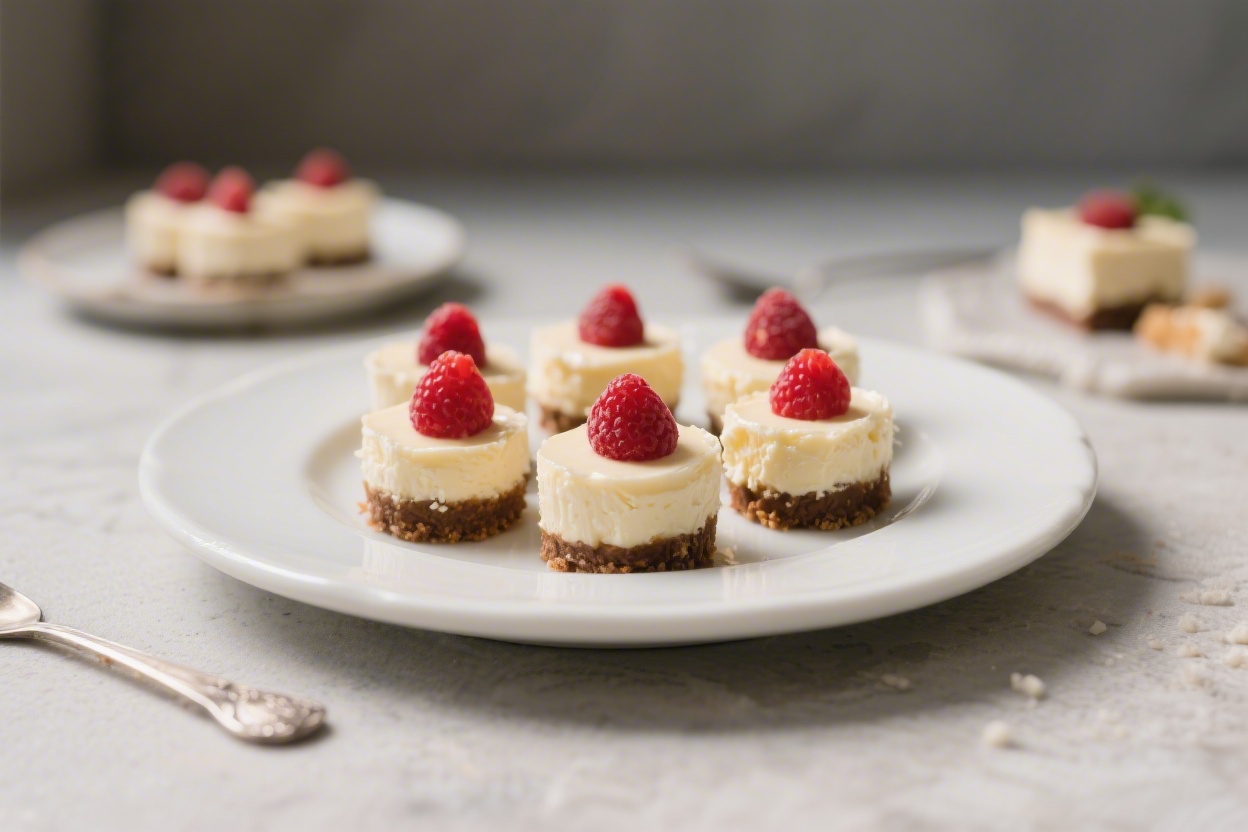
No Bake Cheesecake Bites – Creamy, Easy, and Crowd-Pleasing
No bake cheesecake bites are the kind of treat that makes everyone smile. They’re creamy, cute, and surprisingly simple to pull off with pantry basics. No oven, no fuss—just a few bowls, a mixer, and a little patience while they chill.
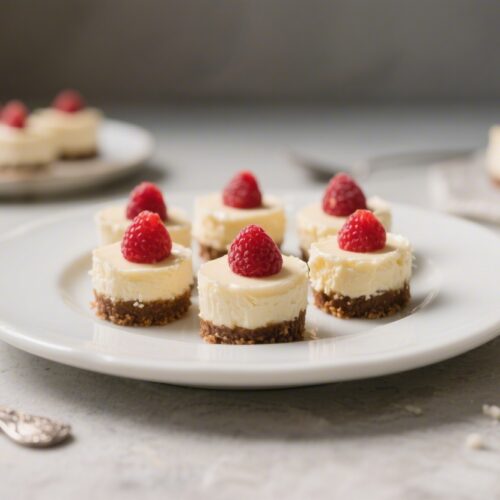
These bites are perfect for parties, weeknight desserts, or whenever you want something sweet without turning on the stove. They taste like classic cheesecake, but in a poppable, make-ahead format that’s easy to customize.
What Makes This Special
These cheesecake bites pack all the flavor of a traditional cheesecake into a smaller, faster, and more forgiving format. The texture is rich and silky thanks to cream cheese and whipped cream, while the buttery cookie crumb base adds a satisfying crunch.
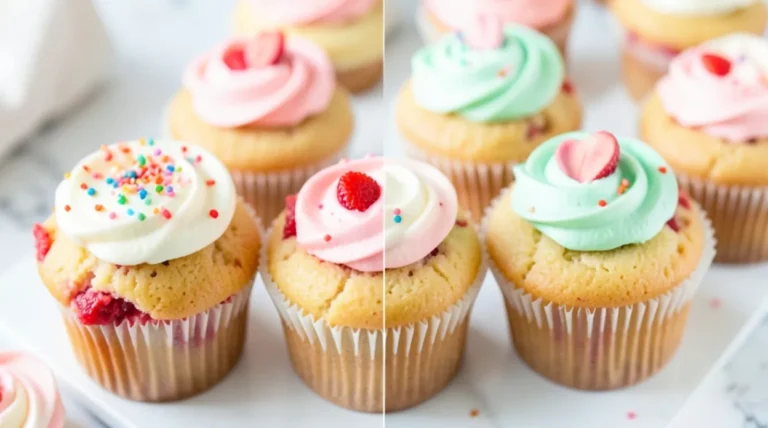
You can top them with jam, chocolate, or fruit and make them look impressive with minimal effort. Best of all, they’re ready to chill in minutes and portion perfectly for a crowd.
Shopping List
- Cream cheese (16 oz; full-fat for best texture), softened
- Granulated sugar (1/2 cup)
- Vanilla extract (1–2 teaspoons)
- Lemon juice (1 tablespoon; fresh if possible)
- Salt (a pinch)
- Heavy whipping cream (3/4 cup), cold
- Graham crackers (10–12 full sheets) or digestive biscuits
- Unsalted butter (5 tablespoons), melted
- Powdered sugar (2 tablespoons; optional for stiffer filling)
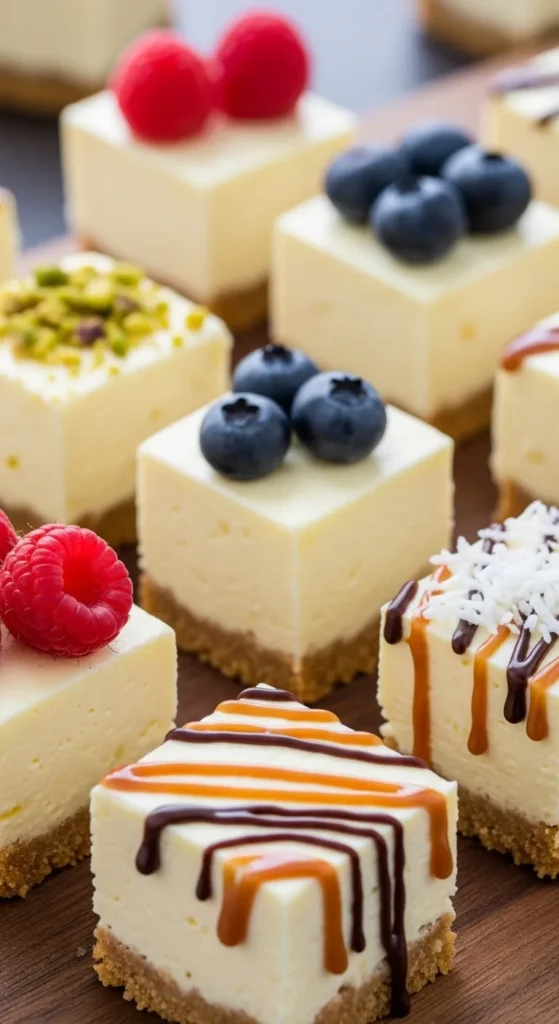
- Toppings: fruit jam or curd, fresh berries, melted chocolate, caramel, crushed candy, or lemon zest
- Extras (optional): almond extract, cinnamon for the crust, or a pinch of nutmeg
Step-by-Step Instructions
- Prep your pan and tools. Line a mini muffin pan with paper liners, or use a silicone mold. You can also use a square 8-inch pan lined with parchment for bar-style bites.
- Make the crust. Pulse graham crackers in a food processor until fine.Stir in melted butter and a pinch of salt. The mixture should look like wet sand and hold together when pressed.
- Press the base. Spoon about 1 to 1.5 teaspoons of crust into each mini cup. Press firmly with the back of a spoon or your thumb to form an even layer. Chill for 10–15 minutes to set while you make the filling.
- Whip the cream. In a cold bowl, beat heavy cream to medium-stiff peaks.Don’t overbeat. Set aside in the fridge. This step adds lightness and helps the bites hold their shape.
- Beat the cream cheese. In a separate bowl, beat softened cream cheese with granulated sugar, vanilla, lemon juice, and a pinch of salt until very smooth and fluffy, about 2–3 minutes.If you want a slightly firmer set, beat in the powdered sugar as well.
- Fold it together. Gently fold the whipped cream into the cream cheese mixture in two additions. Keep as much air as possible for a light, mousse-like texture.
- Fill the cups. Pipe or spoon the cheesecake filling onto the chilled crusts, filling almost to the top. Smooth the surface with a small spatula or the back of a spoon.
- Add toppings. Swirl in a small spoonful of jam, dot with berries, or drizzle with melted chocolate.Keep toppings light so they don’t weigh the filling down.
- Chill to set. Refrigerate for at least 3 hours, or until firm enough to lift from the pan. Overnight is even better for flavor and texture.
- Serve. Peel off the liners and arrange on a platter. Add a final touch of zest, a sprinkle of cookie crumbs, or a light dusting of powdered sugar right before serving.
Keeping It Fresh
Store the cheesecake bites in an airtight container in the fridge for up to 4 days.
If stacking, place a sheet of parchment between layers to prevent sticking and smudged toppings. For longer storage, freeze the bites on a tray until solid, then transfer to a freezer bag for up to 1 month. Thaw in the fridge for a few hours before serving, and add fresh fruit toppings after thawing for the best look.
Benefits of This Recipe
- No oven required: Perfect for warm days or small kitchens.
- Quick to assemble: Active time is minimal; the fridge does the rest.
- Portion-friendly: Easy to serve at parties and ideal for snacking.
- Customizable: Swap crusts, flavors, and toppings to match any theme.
- Make-ahead: Chill overnight and check dessert off your list early.
Pitfalls to Watch Out For
- Cold cream cheese: If it’s not softened, your filling may turn lumpy.Let it sit at room temp for 30–45 minutes.
- Overwhipped cream: Grainy whipped cream can make the filling look curdled. Stop at medium-stiff peaks.
- Wet toppings: Very juicy fruit or runny jam can make the surface weep. Blot fruit or use a thicker jam.
- Crust too loose: If the base crumbles, add another tablespoon of melted butter and press more firmly.
- Rushing the chill: The bites need time to set.Aim for at least 3 hours, ideally overnight.
Variations You Can Try
- Chocolate Cookie Base: Swap grahams for chocolate wafer cookies and add a drizzle of ganache.
- Lemon Burst: Add lemon zest and an extra teaspoon of lemon juice to the filling. Top with lemon curd.
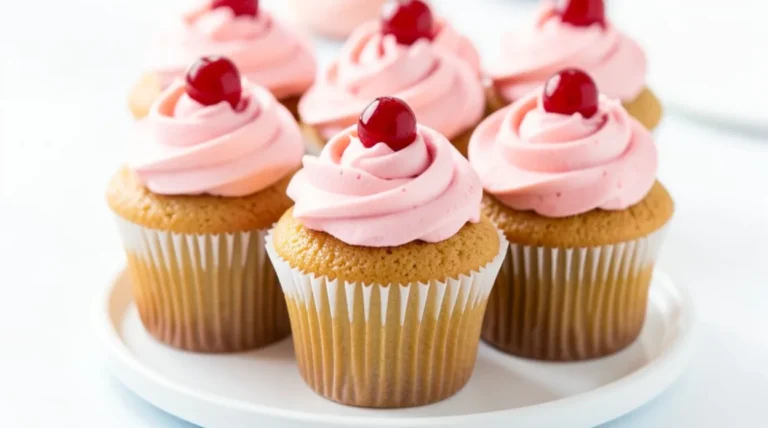
- Berry Cheesecake: Fold in finely chopped strawberries or raspberries and top with a berry compote.
- Salted Caramel Pecan: Spoon caramel on top and finish with chopped toasted pecans and a pinch of flaky salt.
- Oreo Style: Use crushed sandwich cookies for the crust and fold larger cookie bits into the filling.
- Tropical Twist: Add a splash of coconut extract and top with diced mango and toasted coconut.
- Spiced Crust: Stir 1/4 teaspoon cinnamon or pumpkin pie spice into the crust for warmth.
- Greek Yogurt Light: Replace one-third of the cream cheese with thick Greek yogurt for a tangier bite.
FAQ’s
Can I make these without a mini muffin pan?
Yes. Use a lined 8-inch square pan, press the crust in a flat layer, spread the filling on top, and chill.
Slice into bite-size squares once set.
How do I get perfectly smooth filling?
Make sure the cream cheese is fully softened, beat it well with sugar and flavorings, and fold in the whipped cream gently. Scrape the bowl often so no lumps hide along the sides.
What if I don’t have heavy cream?
You can substitute whipped topping in a pinch. The texture will be slightly different, but the bites will still set and taste great.
Can I make them gluten-free?
Absolutely.
Use gluten-free graham crackers or cookies for the crust and check that your toppings are gluten-free as well.
Why did my bites taste too sweet?
Reduce the granulated sugar slightly and balance with extra lemon juice or a tangy topping like unsweetened fruit purée. Using a less sweet crust also helps.
How long do they need to chill?
At least 3 hours, but overnight yields the cleanest texture and best flavor. If you’re in a rush, a brief 30–45 minutes in the freezer can help speed things up.
Can I pipe the filling for a neater look?
Yes.
Spoon the filling into a piping bag fitted with a round or star tip and pipe into the cups. It gives a bakery-style finish with minimal effort.
Do I have to use lemon juice?
No, but it brightens the flavor and cuts the richness. If you skip it, add a tiny extra pinch of salt or a splash of another acid like lime juice.
What’s the best way to melt chocolate for topping?
Microwave chocolate in short 15–20 second bursts, stirring between each, until smooth.
Add a teaspoon of neutral oil for a glossier drizzle.
Can I make them dairy-free?
Use dairy-free cream cheese and a plant-based whipping cream alternative. Check the crust ingredients or use dairy-free cookies with coconut oil.
Related Recipes
- No Bake Biscoff Cheesecake – Creamy, Crunchy, and Effortless
- No Bake Blueberry Cheesecake – Creamy, Bright, and Effortless
- Mini Pumpkin Cheesecake Recipe – Creamy, Spiced, and Perfectly Portable
In Conclusion
No bake cheesecake bites deliver classic cheesecake flavor in a fuss-free, shareable package. With a buttery crust, creamy filling, and endless topping options, they feel special without complicating your day.
Make them the night before, garnish just before serving, and watch them disappear. Simple, reliable, and delicious—these bites are a keeper for any occasion.
No Bake Cheesecake Bites - Creamy, Easy, and Crowd-Pleasing
Ingredients
- Cream cheese (16 oz; full-fat for best texture), softened
- Granulated sugar (1/2 cup)
- Vanilla extract (1–2 teaspoons)
- Lemon juice (1 tablespoon; fresh if possible)
- Salt (a pinch)
- Heavy whipping cream (3/4 cup), cold
- Graham crackers (10–12 full sheets) or digestive biscuits
- Unsalted butter (5 tablespoons), melted
- Powdered sugar (2 tablespoons; optional for stiffer filling)
- Toppings: fruit jam or curd, fresh berries, melted chocolate, caramel, crushed candy, or lemon zest
- Extras (optional): almond extract, cinnamon for the crust, or a pinch of nutmeg
Instructions
- Prep your pan and tools. Line a mini muffin pan with paper liners, or use a silicone mold. You can also use a square 8-inch pan lined with parchment for bar-style bites.
- Make the crust. Pulse graham crackers in a food processor until fine. Stir in melted butter and a pinch of salt. The mixture should look like wet sand and hold together when pressed.
- Press the base. Spoon about 1 to 1.5 teaspoons of crust into each mini cup. Press firmly with the back of a spoon or your thumb to form an even layer. Chill for 10–15 minutes to set while you make the filling.
- Whip the cream. In a cold bowl, beat heavy cream to medium-stiff peaks. Don’t overbeat. Set aside in the fridge. This step adds lightness and helps the bites hold their shape.
- Beat the cream cheese. In a separate bowl, beat softened cream cheese with granulated sugar, vanilla, lemon juice, and a pinch of salt until very smooth and fluffy, about 2–3 minutes. If you want a slightly firmer set, beat in the powdered sugar as well.
- Fold it together. Gently fold the whipped cream into the cream cheese mixture in two additions. Keep as much air as possible for a light, mousse-like texture.
- Fill the cups. Pipe or spoon the cheesecake filling onto the chilled crusts, filling almost to the top. Smooth the surface with a small spatula or the back of a spoon.
- Add toppings. Swirl in a small spoonful of jam, dot with berries, or drizzle with melted chocolate. Keep toppings light so they don’t weigh the filling down.
- Chill to set. Refrigerate for at least 3 hours, or until firm enough to lift from the pan. Overnight is even better for flavor and texture.
- Serve. Peel off the liners and arrange on a platter. Add a final touch of zest, a sprinkle of cookie crumbs, or a light dusting of powdered sugar right before serving.
Printable Recipe Card
Want just the essential recipe details without scrolling through the article? Get our printable recipe card with just the ingredients and instructions.