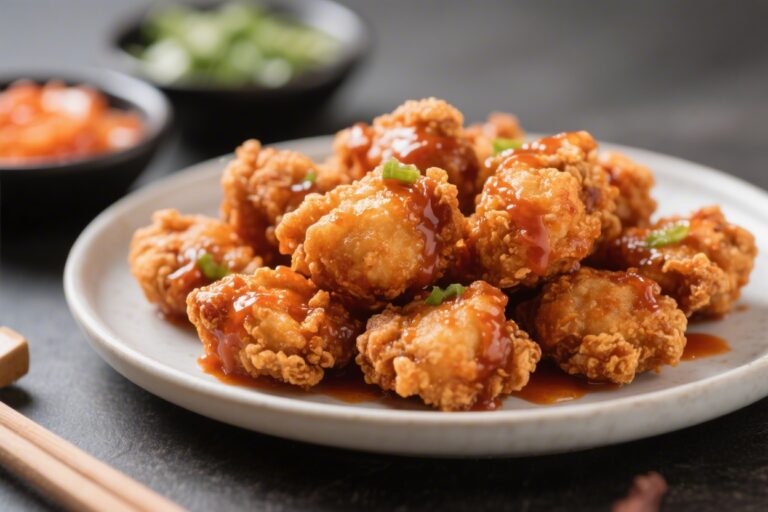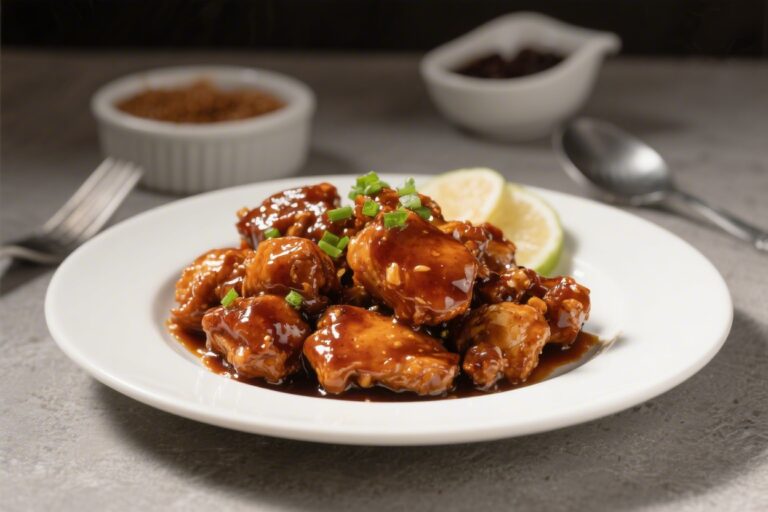
Easy Soy Garlic Korean Fried Chicken Recipe
If you love crispy chicken with a glossy, sticky glaze, this soy garlic Korean fried chicken will hit the spot. It’s inspired by dakgangjeong, the beloved snack that’s sweet, savory, and just a little garlicky. The best part?
You don’t need special equipment or hard-to-find ingredients. A quick stovetop fry and a simple pan sauce give you restaurant-level results at home. Serve it over rice, with pickled radish, or as a crowd-pleasing appetizer.
What Makes This Special
This version keeps the signature crunch without a heavy batter.
Potato starch (or cornstarch) creates a thin, shatter-crisp coating that stays crunchy under the sauce. The glaze strikes a perfect balance: soy for umami, garlic for punch, and honey or sugar for that glossy finish. Double-frying makes the chicken extra crisp, but you can do a single fry if you’re short on time.
It’s flexible, quick, and absolutely addictive.
Ingredients
- 1.5 pounds (680 g) boneless chicken thighs, cut into bite-size pieces (or wings/drumettes)
- 1 teaspoon kosher salt
- 1/2 teaspoon black pepper
- 1 tablespoon soy sauce (for marinating)
- 1 tablespoon rice wine (mirin or dry sherry works)
- 1 large egg white (optional, helps the coating stick)
- 3/4 cup potato starch (or cornstarch), plus extra as needed
- Neutral oil for frying (canola, peanut, or vegetable)
For the Soy Garlic Glaze:
- 3 tablespoons soy sauce
- 3 tablespoons honey (or 1/4 cup brown sugar)
- 2 tablespoons rice vinegar (or apple cider vinegar)
- 3–4 cloves garlic, finely minced
- 1 teaspoon grated fresh ginger (optional but great)
- 1–2 teaspoons gochujang or a pinch of red pepper flakes (optional for mild heat)
- 1 tablespoon water
- 1 teaspoon sesame oil
- 1 teaspoon cornstarch (optional, for extra glossy thickness)
To Finish:
- Toasted sesame seeds
- Thinly sliced green onions
- Crushed roasted peanuts or almonds (traditional in dakgangjeong, optional)
Step-by-Step Instructions
- Prep the chicken. Pat the chicken dry. In a bowl, combine the chicken with salt, pepper, soy sauce, and rice wine. Mix well and let sit for 10–15 minutes.If using, stir in the egg white.
- Coat for crunch. Add potato starch to a shallow bowl. Dredge chicken pieces, pressing to coat thoroughly. Shake off excess.Set on a rack for 5–10 minutes so the starch hydrates slightly.
- Heat the oil. Pour 1–1.5 inches of oil into a deep skillet or pot. Heat to 325–340°F (165–170°C). Keep a steady medium heat.
- First fry. Fry chicken in batches without crowding, 4–5 minutes until lightly golden and cooked through.Transfer to a rack. Let the oil return to temperature between batches.
- Make the glaze. In a small pan, combine soy sauce, honey, rice vinegar, garlic, ginger, gochujang or flakes (if using), water, and sesame oil. For a thicker sauce, whisk in cornstarch before heating.Simmer over medium heat 2–3 minutes until glossy and slightly thick.
- Second fry for extra crisp. Increase oil to 360–375°F (182–190°C). Fry the chicken again for 1–2 minutes until deep golden and ultra crispy. Drain on a rack.
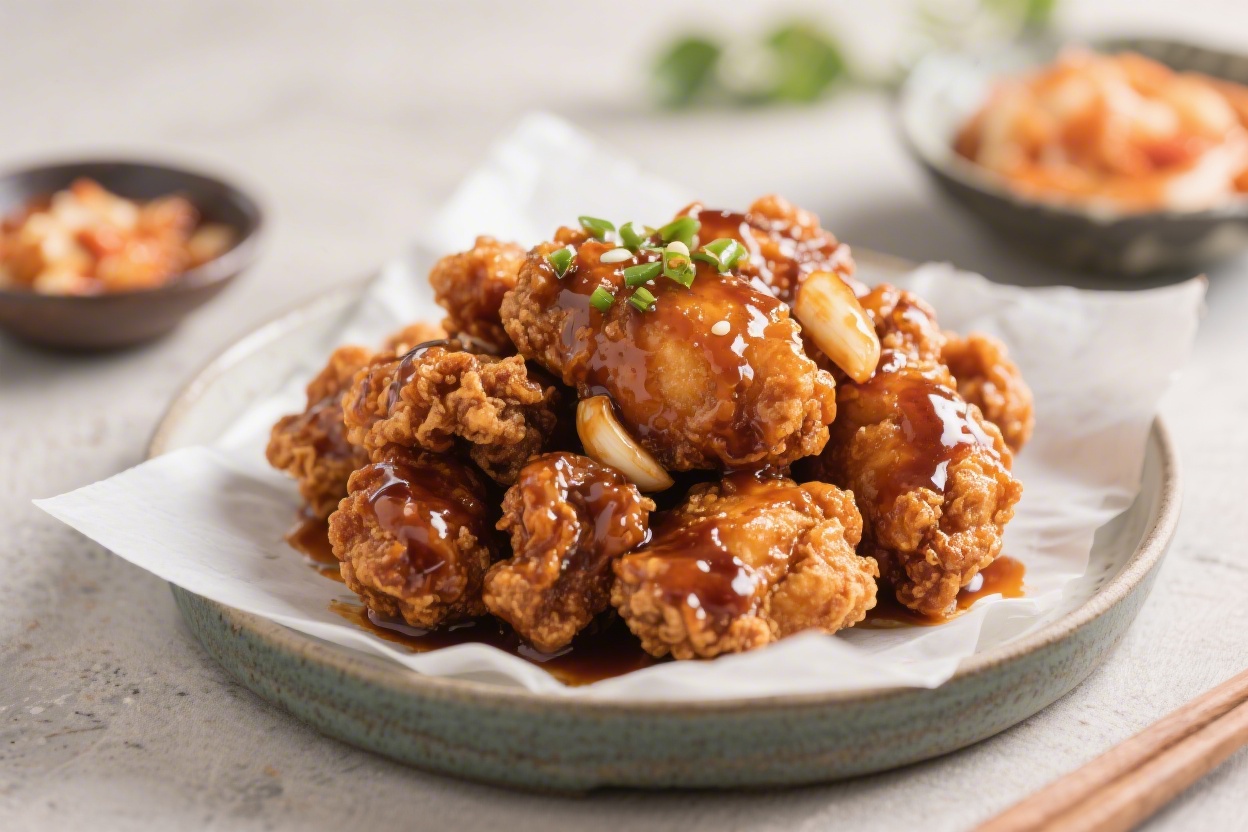
- Sauce and toss. Add the hot chicken to a large bowl.Pour over the glaze and toss quickly until every piece is coated and shiny.
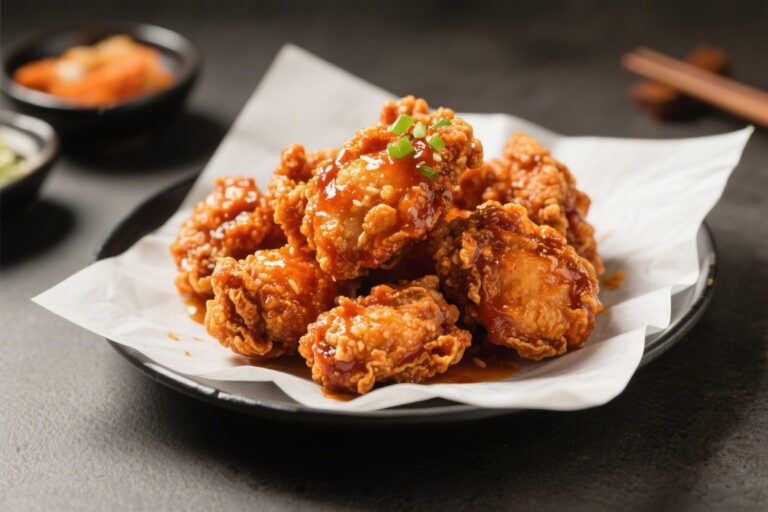
- Finish and serve. Sprinkle with sesame seeds, green onions, and nuts if you like. Serve right away with rice, pickled radish, or a cold beer.
How to Store
- Fridge: Keep leftovers in an airtight container for up to 3 days. The coating will soften, but flavor stays great.
- Reheat: For best texture, reheat on a wire rack in a 375°F (190°C) oven or air fryer for 6–10 minutes until hot and crisp.Microwaving softens the crust.
- Make-ahead: Fry chicken once and cool completely. Store un-sauced in the fridge up to 24 hours. Double-fry and glaze just before serving.
- Freeze: Freeze single-fried pieces on a tray, then bag for up to 2 months.Re-fry from frozen at 350–360°F (175–182°C) until hot, then glaze.
Health Benefits
- Protein-rich: Chicken thighs deliver iron, zinc, and satisfying protein.
- Smarter fat choice: Using neutral oil with a high smoke point means cleaner frying and less oxidation.
- Garlic and ginger: Both offer antioxidants and may support immune health and digestion.
- Balanced flavor, controlled sugar: You control the sweetness. Using honey or modest sugar keeps the sauce balanced without being syrupy.
What Not to Do
- Don’t skip drying the chicken. Excess moisture prevents a crisp crust.
- Don’t crowd the pot. The oil temperature will drop, and the coating gets soggy.
- Don’t sauce too early. Toss in glaze only when you’re ready to eat to keep the crunch.
- Don’t over-thicken the glaze. If it’s too thick, it clumps. Aim for a pourable, syrupy consistency.
- Don’t use low heat for frying. Lukewarm oil makes greasy chicken.Keep it in the right temperature range.
Alternatives
- Baked or air-fried: Toss coated chicken with 1–2 tablespoons oil. Bake at 425°F (220°C) on a rack for 18–22 minutes, flipping once, or air-fry at 380°F (193°C) for 14–18 minutes. Sauce after cooking.
- Gluten-free: Use tamari or certified gluten-free soy sauce and potato starch.
- No honey: Swap brown sugar or maple syrup.Start with less and adjust to taste.
- More heat: Add extra gochujang, a drizzle of chili oil, or toss in sliced fresh chilies.
- Lean cuts: Use chicken breast but cut slightly larger and fry just until done to avoid dryness.
- Nut-free: Skip nuts and add extra sesame seeds for crunch.
FAQ’s
Can I make this without double-frying?
Yes. One fry at 340°F (170°C) for 5–6 minutes works. It won’t be quite as shatter-crisp, but it’s still delicious.
Sauce right before serving.
What oil is best for frying?
Use a neutral, high-smoke-point oil like canola, peanut, or vegetable oil. Avoid olive oil for deep frying since it can burn and add strong flavor.
Why use potato starch instead of flour?
Potato starch creates a lighter, crispier shell that stays crunchy longer, even under sauce. Cornstarch works well too, but potato starch is often crispier.
How do I keep the glaze from burning?
Cook it over medium heat and stir.
Add a splash of water if it gets too thick. Pull it off the heat once it turns glossy and lightly syrupy.
What sides go well with this?
Classic picks include pickled daikon radish, steamed rice, kimchi, or a simple cabbage slaw with a light vinaigrette. For game day, serve with beer and crunchy veggies.
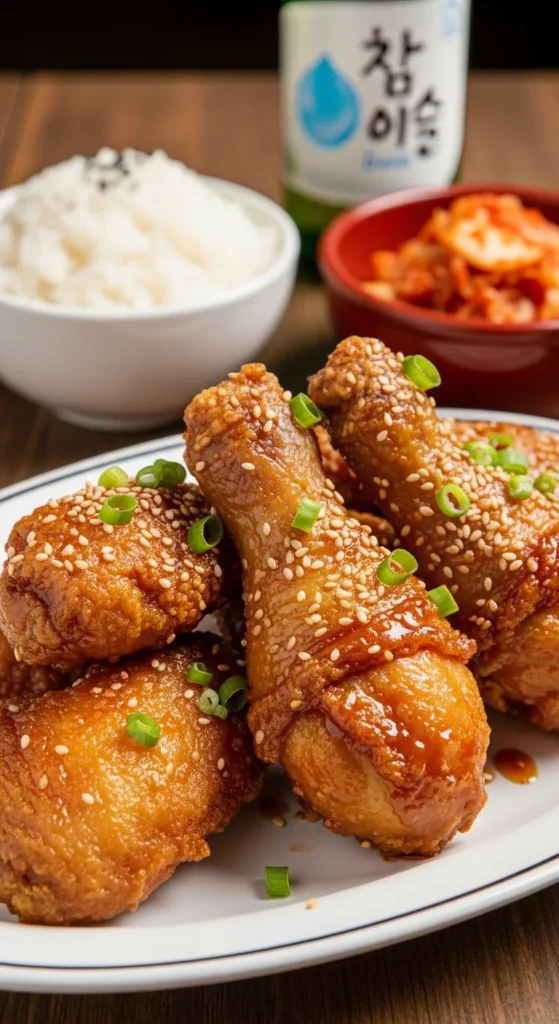
Can I use bone-in wings?
Absolutely.
Increase the first fry to 8–10 minutes, then double-fry for 2–3 minutes until deeply golden and cooked through. Always check for doneness.
How do I know the chicken is done?
Pieces should be golden and firm, with an internal temperature of 165°F (74°C). Clear juices and no pink inside are good signs.
Can I make the sauce ahead?
Yes.
Make it up to 3 days in advance and refrigerate. Warm gently before tossing with the chicken.
Related Recipes
- Sweet and Spicy Yangnyeom Korean Fried Chicken Recipe
- Crispy Korean Fried Chicken Wings in Air Fryer Recipe – Easy, Sticky, and Seriously Crunchy
- Korean Boneless Fried Chicken Bites (Perfect Party Snack) – Crunchy, Saucy, Crowd-Pleasing
Final Thoughts
This soy garlic Korean fried chicken brings big flavor with simple steps and pantry ingredients. The crisp coating and sticky glaze make it a guaranteed crowd-pleaser.
Keep the oil hot, the sauce balanced, and toss right before serving. Once you try it, you’ll have a new go-to for weeknights, parties, and everything in between.
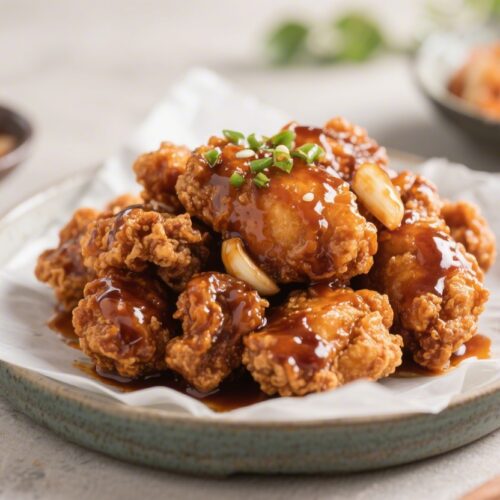
Easy Soy Garlic Korean Fried Chicken (Dakgangjeong Style) - Crispy, Sticky, And Ready Fast
Ingredients
- 1.5 pounds (680 g) boneless chicken thighs, cut into bite-size pieces (or wings/drumettes)
- 1 teaspoon kosher salt
- 1/2 teaspoon black pepper
- 1 tablespoon soy sauce (for marinating)
- 1 tablespoon rice wine (mirin or dry sherry works)
- 1 large egg white (optional, helps the coating stick)
- 3/4 cup potato starch (or cornstarch), plus extra as needed
- Neutral oil for frying (canola, peanut, or vegetable)
- 3 tablespoons soy sauce
- 3 tablespoons honey (or 1/4 cup brown sugar)
- 2 tablespoons rice vinegar (or apple cider vinegar)
- 3–4 cloves garlic, finely minced
- 1 teaspoon grated fresh ginger (optional but great)
- 1–2 teaspoons gochujang or a pinch of red pepper flakes (optional for mild heat)
- 1 tablespoon water
- 1 teaspoon sesame oil
- 1 teaspoon cornstarch (optional, for extra glossy thickness)
- Toasted sesame seeds
- Thinly sliced green onions
- Crushed roasted peanuts or almonds (traditional in dakgangjeong, optional)
Instructions
- Prep the chicken. Pat the chicken dry. In a bowl, combine the chicken with salt, pepper, soy sauce, and rice wine. Mix well and let sit for 10–15 minutes. If using, stir in the egg white.
- Coat for crunch. Add potato starch to a shallow bowl. Dredge chicken pieces, pressing to coat thoroughly. Shake off excess. Set on a rack for 5–10 minutes so the starch hydrates slightly.
- Heat the oil. Pour 1–1.5 inches of oil into a deep skillet or pot. Heat to 325–340°F (165–170°C). Keep a steady medium heat.
- First fry. Fry chicken in batches without crowding, 4–5 minutes until lightly golden and cooked through. Transfer to a rack. Let the oil return to temperature between batches.
- Make the glaze. In a small pan, combine soy sauce, honey, rice vinegar, garlic, ginger, gochujang or flakes (if using), water, and sesame oil. For a thicker sauce, whisk in cornstarch before heating. Simmer over medium heat 2–3 minutes until glossy and slightly thick.
- Second fry for extra crisp. Increase oil to 360–375°F (182–190°C). Fry the chicken again for 1–2 minutes until deep golden and ultra crispy. Drain on a rack.
- Sauce and toss. Add the hot chicken to a large bowl. Pour over the glaze and toss quickly until every piece is coated and shiny.
- Finish and serve. Sprinkle with sesame seeds, green onions, and nuts if you like. Serve right away with rice, pickled radish, or a cold beer.
Printable Recipe Card
Want just the essential recipe details without scrolling through the article? Get our printable recipe card with just the ingredients and instructions.