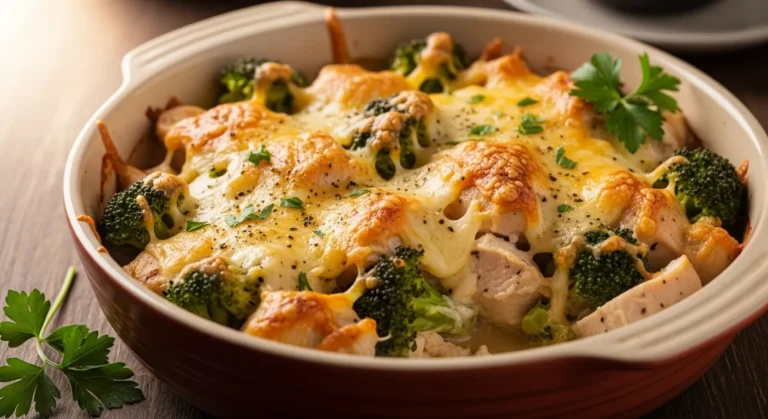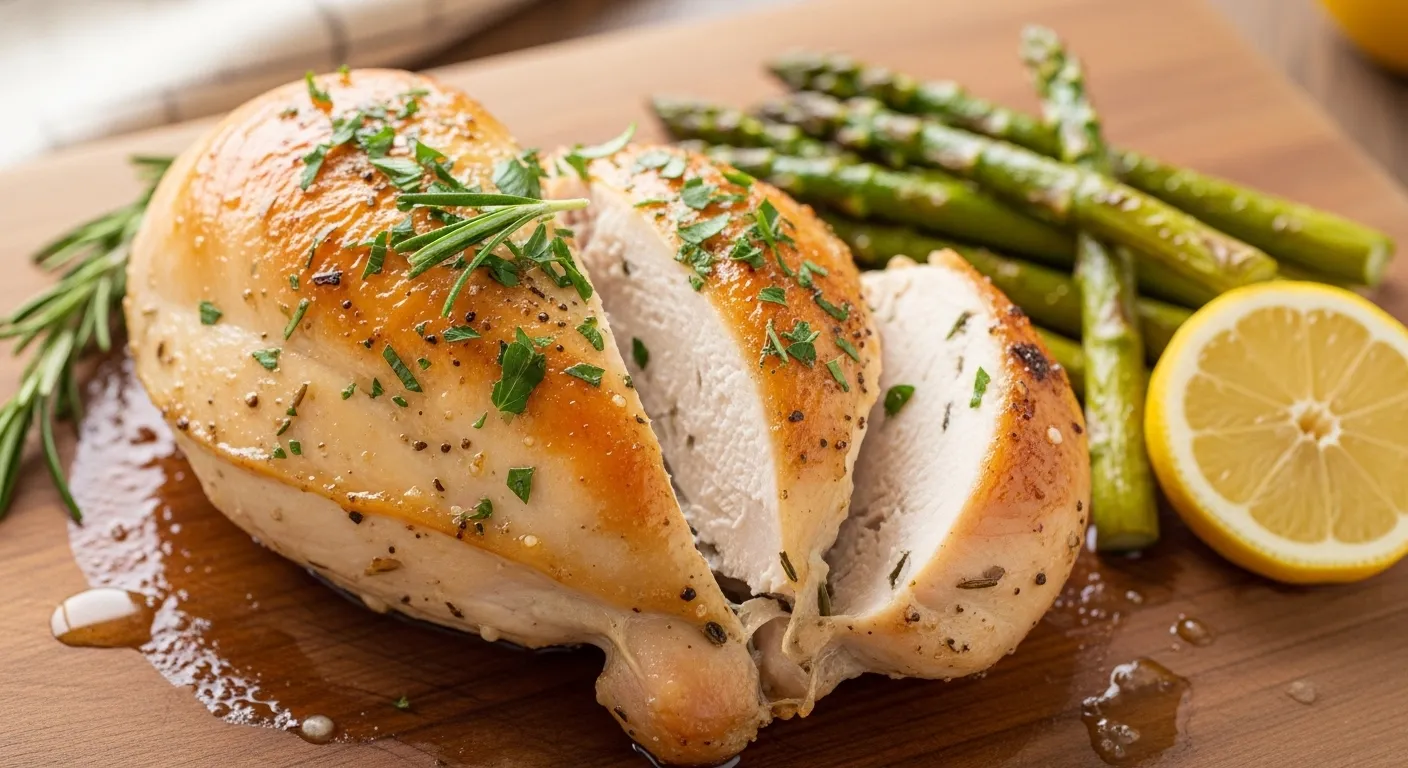
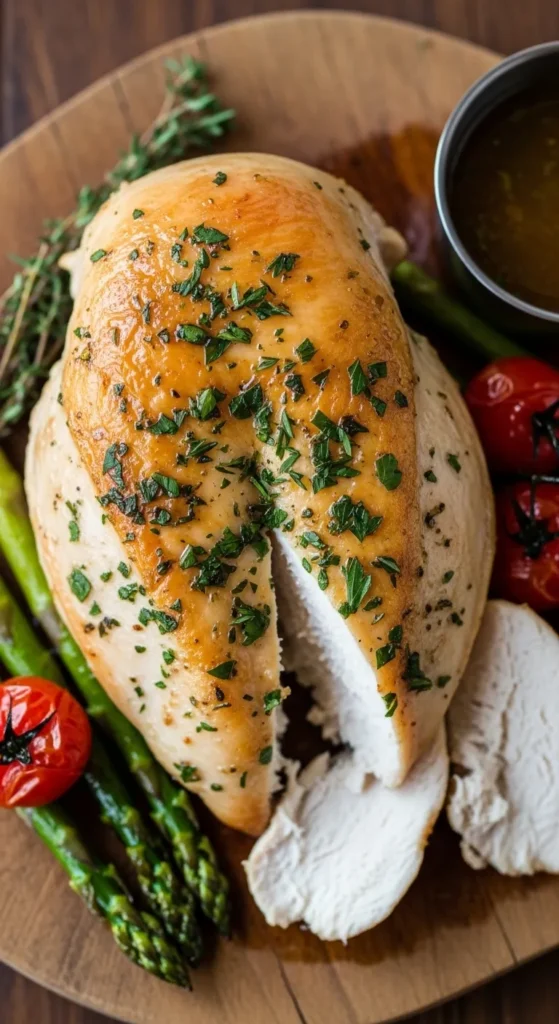
Baked Split Chicken Breast Recipe
So, you’re staring at a package of split chicken breasts and wondering if you’ve actually got what it takes to turn them into a meal that doesn’t resemble a piece of dry drywall? I get it. We’ve all been there—standing in the kitchen, staring at the oven like it’s a sentient beast ready to ruin our Tuesday night. But honestly, if you’re craving that deep, soul-satisfying crunch of crispy skin and the kind of juicy meat that makes you want to write a thank-you note to a bird, you’ve come to the right place. Let’s get cooking before we both get too hungry to function.
Why This Recipe is Awesome
Let’s be real for a second: split chicken breast is the unsung hero of the meat aisle. It’s cheaper than those skinless, boneless “fitness” breasts, and it tastes about a thousand times better because—shocker—it actually has the bone and skin attached.
This recipe is awesome because it’s basically idiot-proof. Seriously, if you can rub some oil on a piece of poultry and turn a dial on your oven, you’ve basically graduated from culinary school in my book. It’s the ultimate “I want to look like a gourmet chef but I actually spent the last forty minutes scrolling through memes” kind of meal.
The bone acts like a little flavor-insulation system, keeping the meat moist while the skin gets all bubbly and golden. It’s also incredibly versatile. Eat it as a main, shred it for tacos, or throw it on a salad if you’re trying to pretend you’re healthy. Plus, it makes your house smell like a literal dream, which is a nice bonus if you haven’t done laundry in a week.
Ingredients You’ll Need
Don’t go running to the specialty grocery store for “organic tears of a Himalayan yak.” We’re keeping this simple, effective, and budget-friendly.
- 2 to 4 Split Chicken Breasts: These are the ones with the bone and skin still on. If you bought the boneless ones by mistake, well, I’m not mad, just disappointed.
- 2 Tablespoons Olive Oil: Or avocado oil. Or melted butter if you’re feeling like a rebel. Just something to help the spices stick and the skin sizzle.
- 1 Teaspoon Garlic Powder: Because breathing at people with garlic breath is a personality trait, IMO.
- 1 Teaspoon Onion Powder: Its best friend. Never leave it behind.
- 1 Teaspoon Smoked Paprika: This gives it that “I cooked this over a campfire” vibe without the actual smoke inhalation.
- 1 Teaspoon Dried Oregano or Thyme: For that earthy, “I have a herb garden” aesthetic (even if your only plant is a dying succulent).
- Salt and Pepper: Use more than you think you need. Seriously. Don’t be shy.
- Optional: Lemon Wedges: For a little zing at the end to wake up your taste buds.
Step-by-Step Instructions
- Preheat and Prep: Crank your oven up to 400°F (200°C). While that’s heating up, grab a large baking sheet and line it with parchment paper or foil. It makes cleanup way easier, and let’s face it, neither of us wants to scrub a pan tonight.
- Dry the Bird: Pat those chicken breasts dry with paper towels. I mean really dry. If the skin is wet, it won’t get crispy; it’ll just get sad and soggy. Nobody wants sad chicken.
- Mix the Magic: In a small bowl, whisk together your olive oil, garlic powder, onion powder, smoked paprika, oregano, salt, and pepper. It should look like a delicious, aromatic sludge.
- The Spa Treatment: Lay the chicken on your baking sheet. Rub that spice mixture all over the chicken—under the skin, over the skin, on the bone side. Give it a proper massage. Don’t skip the underside!
- Bake It Off: Slide the tray into the oven. Bake for 35 to 45 minutes. The internal temperature needs to hit 165°F, so if you have a meat thermometer, now is its time to shine.
- The Big Rest: This is the hardest part. Once it’s out, let it sit for 5 to 10 minutes before cutting into it. If you cut it immediately, all those beautiful juices will run away, leaving you with a sad, dry husk. Be patient!
Common Mistakes to Avoid
- The “Cold Start” Blunder: Thinking you don’t need to preheat the oven is a classic rookie mistake. If you put the chicken in a cold oven, the skin will never get that satisfying crunch. You’re baking, not slow-steaming.
- Crowding the Pan: If you jam six chicken breasts onto a tiny tray, they’ll end up steaming each other. Give them some personal space! They need airflow to get crispy.
- Ignoring the Meat Thermometer: Guessing when chicken is done is a dangerous game. Are you feeling lucky? Because “pink in the middle” isn’t a culinary trend anyone wants to follow.
- Forgetting the Salt: Chicken is naturally pretty bland. If you don’t season it aggressively, it’s going to taste like a yoga mat. Season both sides of the breast for maximum impact.
- Peeking Constantly: Every time you open the oven door, the temperature drops. Leave the door closed and let the oven do its job. It knows what it’s doing better than you do right now.
Alternatives & Substitutions
Look, if you don’t have exactly what’s on the list, don’t panic. The kitchen isn’t a courtroom; we can negotiate.
If you hate smoked paprika (who are you?), feel free to use regular sweet paprika or even a dash of cayenne if you want a kick. No oregano? Dried basil or an “Italian seasoning” blend works perfectly fine. FYI, fresh herbs are great, but they can burn in a 400-degree oven, so stick to dried for the rub and save the fresh stuff for a garnish.
Want to make it a one-pan meal? Toss some chopped potatoes and carrots in the same seasoning and throw them on the tray around the chicken. They’ll soak up all that chicken fat and taste like heaven. Personally, I think adding a few cloves of smashed garlic to the pan is a pro move, but that’s just my “more is more” philosophy speaking.
FAQ.s
Should I leave the skin on?
Why would you even ask that? Yes! Even if you don’t plan on eating the skin (which is a tragedy), leaving it on during the bake keeps the meat from drying out. Think of it as a little flavor-blanket.
How do I know it’s actually done without a thermometer?
If you poke it and the juices run clear (not pink), you’re usually in the clear. However, buying a digital thermometer is the best $15 you’ll ever spend on your kitchen. Just saying.
Can I use this recipe for boneless breasts?
Technically, yes, but you’ll need to reduce the cooking time significantly—probably to about 20–25 minutes. But honestly, why settle for the “lite” version when you can have the full-flavor experience?
Why is my chicken skin still soggy?
Did you pat it dry? If you skipped the paper towel step, that moisture turned into steam. Next time, make that chicken as dry as a desert before you add the oil.
Can I prep this in advance?
Absolutely! You can rub the spices on the chicken and let it hang out in the fridge for a few hours. Just let it sit on the counter for 15 minutes before popping it in the oven so it’s not ice-cold.
Is it okay to eat the bone?
I mean… no? Please don’t. Give it to your dog (if it’s not a splintering hazard) or throw it in a pot to make stock, but your teeth will thank you for sticking to the meat.
Final Thoughts
And there you have it—the secret to making chicken that people will actually want to eat twice. It’s simple, it’s rustic, and it’s basically a hug in food form. Baked split chicken breast isn’t just a meal; it’s a statement that you value flavor over convenience, even if you are wearing sweatpants while you cook it.
Now go impress someone—or just yourself—with your new culinary skills. You’ve earned it! Grab a fork, a napkin, and maybe a glass of something cold, and enjoy the fruits of your very minimal labor. You totally crushed this!
Related Recipes
- The Best Chicken Salad You’ll Ever Try
- Crockpot Mississippi Chicken Recipe
- Crockpot Fiesta Chicken Recipe
Printable Recipe Card
Want just the essential recipe details without scrolling through the article? Get our printable recipe card with just the ingredients and instructions.