Easy Paper Mache Glue Recipe
Paper mache is one of those crafts that makes a rainy afternoon feel productive. It’s simple, a little messy in a good way, and surprisingly satisfying. The secret to great results isn’t fancy paper or special tools—it’s the glue.
With the right mix, your creations dry strong, smooth, and ready for paint. This easy paper mache glue recipe uses pantry basics, costs almost nothing, and takes just a few minutes to make.
Why This Recipe Works
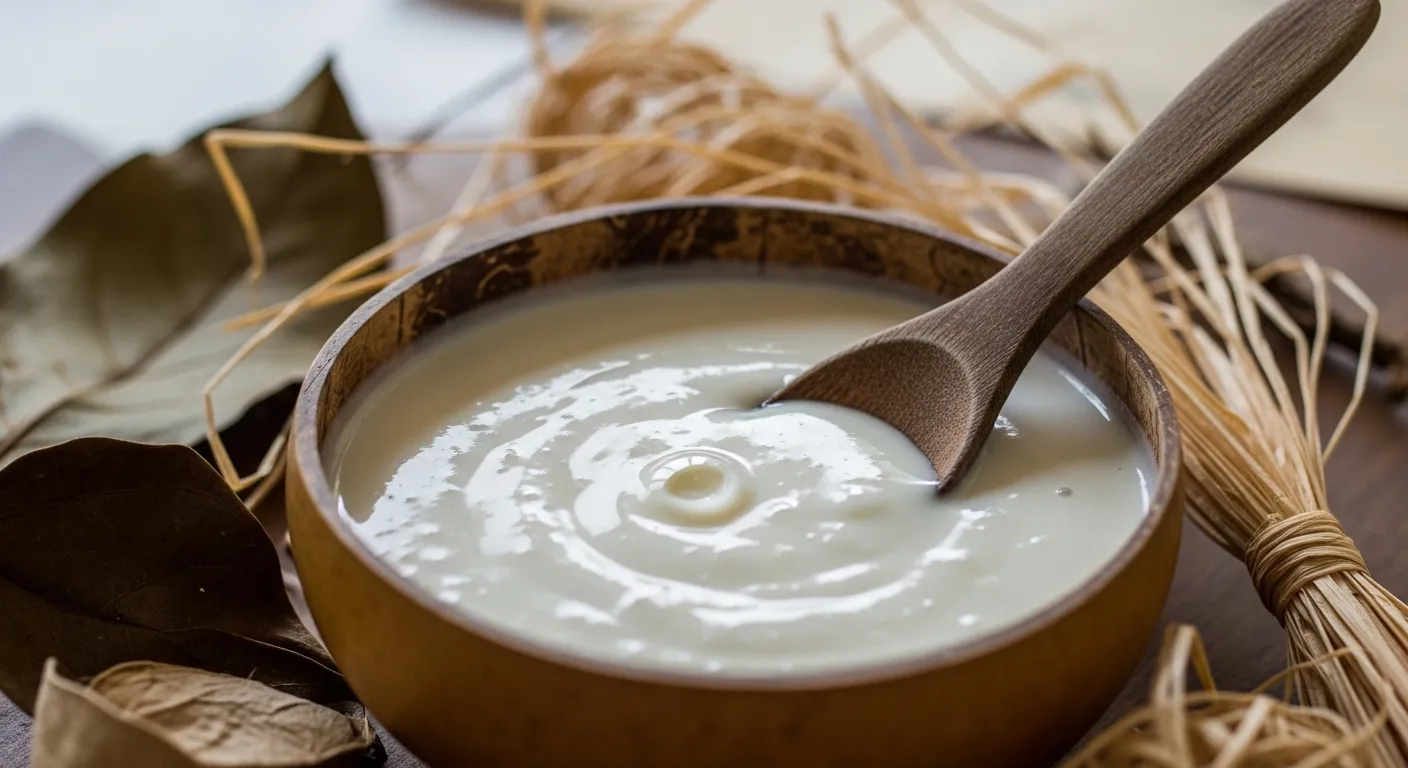
This glue is a classic flour-and-water paste that strikes the right balance between stickiness and smooth texture. It spreads easily over newspaper or tissue paper without clumping, and it dries to a firm, paintable finish.
A tiny bit of salt or vinegar helps slow down spoilage so the paste lasts longer. If you want a smoother finish, a quick simmer thickens the mixture, making it more like a silky craft glue. Best of all, it’s non-toxic and kid-safe when used properly.
Shopping List
- All-purpose flour: The base of the glue.
- Water: For mixing and (optional) cooking.
- Salt or white vinegar (optional): Helps preserve the paste.
- Measuring cup and spoon: For accuracy.
- Small saucepan (optional): For the cooked version.
- Whisk or fork: To smooth out lumps.
- Clean jar with lid: For storage.
Instructions
- Decide on your method. Pick the no-cook version for speed and easy cleanup, or the cooked version for a smoother, slightly stronger finish.
- No-cook paste: In a bowl, whisk together 1 cup flour with 1 to 1¼ cups cool water.Start with 1 cup, then add more water a tablespoon at a time until it’s the texture of pancake batter—smooth and pourable, not runny.
- Add a preservative (optional): Mix in ½ teaspoon salt or 1 teaspoon white vinegar. This helps keep the paste fresh for a few days.
- Cooked paste (optional): In a saucepan, whisk ¼ cup flour with 1 cup cool water until lump-free. Heat over medium, stirring constantly, until it thickens to a thin pudding consistency, about 3–5 minutes.Remove from heat and cool. Thin with a little water if it gets too thick.
- Strain if needed: For extra smoothness, press the paste through a fine sieve or give it a quick blend with an immersion blender.
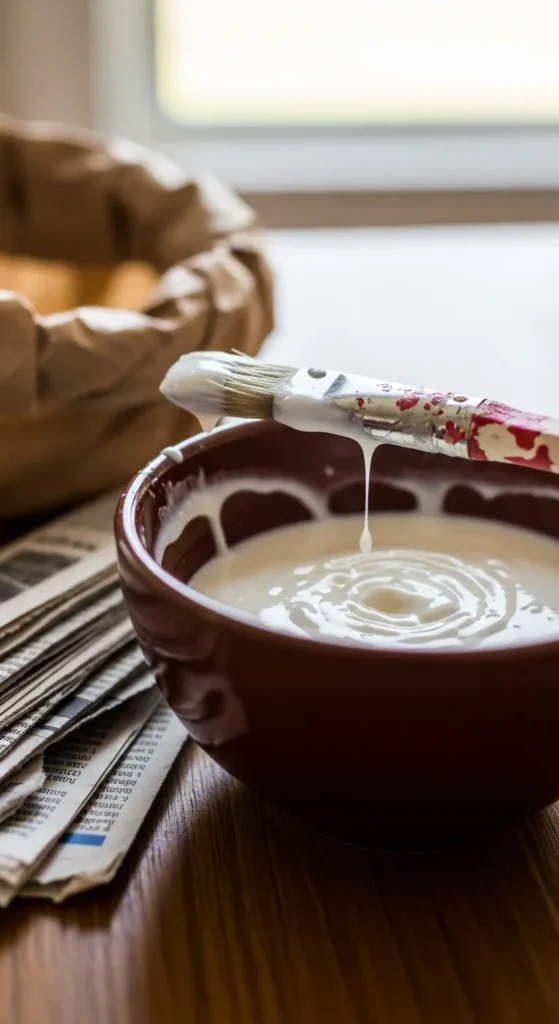
- Prep your paper: Tear newspaper or paper into strips. Tearing (not cutting) gives soft edges that blend better.
- Dip and apply: Dip each strip into the glue, then run it between two fingers to remove excess.Smooth it onto your form, overlapping edges slightly.
- Layer smart: Aim for 2–4 thin layers at a time. Let each set dry before adding more. Thin layers dry faster and crack less.
- Dry completely: Allow your project to dry in a warm, ventilated spot.Turn it occasionally so all sides dry evenly.
- Finish: Once fully dry, lightly sand any rough spots, then prime and paint. Acrylic paints work well, and a clear sealer adds durability.
How to Store
Transfer leftover paste to a clean jar with a tight lid. Refrigerate for up to 3–5 days. If it thickens, whisk in a splash of water to loosen it.
If it smells sour, turns gray, or grows mold, discard it and make a fresh batch. For quick access during a project, keep a small amount at room temperature for the day and stash the rest in the fridge.
Why This is Good for You
Making your own paper mache glue is budget-friendly and uses ingredients you likely already have. It’s non-toxic and safe for most family craft setups, which is great for kids’ projects and classrooms.
It also gives you control over thickness and drying speed, so you can tailor it to masks, bowls, piñatas, or sculptures. Plus, you’ll be reusing paper, which adds a small but meaningful eco-friendly touch to your crafting routine.
Pitfalls to Watch Out For
- Lumpy paste: Add water slowly and whisk thoroughly. If lumps persist, strain or blend briefly.
- Too thick or too runny: Aim for pancake-batter thickness.Add water to thin; add a teaspoon of flour to thicken.
- Moldy paste: Always use a clean container and utensil. Store in the fridge and use within a few days.
- Cracking as it dries: Use thinner layers and let each layer dry before adding the next. Avoid hot, direct sun during early drying.
- Poor adhesion: Make sure your base form is clean and dry.Glossy surfaces may need a light sanding for better grip.
- Allergies or sensitivities: Flour contains gluten. If someone is sensitive, consider wearing gloves or use a glue-based alternative like watered-down PVA.
Variations You Can Try
- Extra-strong finish: After the flour paste layers dry, add a final layer using 1 part white school glue (PVA) to 1 part water. It dries harder and smoother.
- Silky cooked paste: Stir in ½ teaspoon of sugar while cooking for a slightly smoother feel and slower drying time.
- Scented paste: Add a drop of lavender or lemon essential oil to help mask any flour smell.Avoid overdoing it—just one drop.
- Stronger paper:</-strong> Use kraft paper or brown paper bags for a sturdier structure; use tissue paper for a fine, smooth top layer.
- Sealed surface: Once dry, brush on a thin layer of matte Mod Podge or acrylic sealer for durability and water resistance.
FAQ
Is the no-cook or cooked version better?
Both work well. The no-cook version is faster and perfect for most school projects. The cooked version is smoother, slightly stronger, and less likely to feel tacky as it dries, which some crafters prefer for detailed work.
How long does paper mache take to dry?
Thin layers usually dry in 6–12 hours, depending on humidity and airflow.
Full projects often need 24–48 hours. If it still feels cool or flexible, it’s not fully dry yet.
Can I use gluten-free flour?
Yes, but results vary. Rice flour or cornstarch can work, though they may be less sticky.
If you need reliable strength and gluten-free handling, try a 1:1 mix of PVA glue and water for the final layers.
Why is my paste separating or turning watery?
It may have been over-thinned or stored too long. Give it a vigorous whisk and add a teaspoon of flour at a time until it returns to a batter-like consistency. If it smells off, toss it.
What kind of paper is best?
Newspaper is classic and easy to mold.
Magazines are too glossy and resist the glue. For a smoother finish, add a top layer of tissue paper or white copy paper.
Can I speed up drying?
Use a fan and good airflow. A hair dryer on cool can help, but avoid high heat, which can cause warping or cracks.
Thin layers are the most effective way to speed things up.
How do I prevent lumps in the first place?
Whisk the flour with a small amount of water first to form a smooth slurry, then gradually add the remaining water while whisking. Cool water helps. For the cooked version, constant stirring is key.
Is it safe for young kids?
Yes, when supervised.
The ingredients are kitchen-safe, but remind kids not to eat the paste and to wash hands after crafting. Keep long hair tied back and use aprons or old shirts.
Can I make a big batch ahead of time?
It’s best fresh, but you can make it a day or two ahead and refrigerate. Stir well before using and adjust with a little water if it thickens.
Related Recipe
Wrapping Up
This easy paper mache glue recipe is simple, safe, and reliable.
With flour, water, and a whisk, you can turn scrap paper into masks, bowls, puppets, or school projects that hold up beautifully. Keep the layers thin, let them dry fully, and finish with paint or sealer for polished results. Once you try it, you’ll skip the store-bought stuff and keep this go-to recipe in your back pocket.
Easy Paper Mache Glue Recipe - Reliable, Affordable, and Kid-Friendly
Ingredients
- All-purpose flour: The base of the glue.
- Water: For mixing and (optional) cooking.
- Salt or white vinegar (optional): Helps preserve the paste.
- Measuring cup and spoon: For accuracy.
- Small saucepan (optional): For the cooked version.
- Whisk or fork: To smooth out lumps.
- Clean jar with lid: For storage.
Instructions
- Decide on your method. Pick the no-cook version for speed and easy cleanup, or the cooked version for a smoother, slightly stronger finish.
- No-cook paste: In a bowl, whisk together 1 cup flour with 1 to 1¼ cups cool water. Start with 1 cup, then add more water a tablespoon at a time until it’s the texture of pancake batter—smooth and pourable, not runny.
- Add a preservative (optional): Mix in ½ teaspoon salt or 1 teaspoon white vinegar. This helps keep the paste fresh for a few days.
- Cooked paste (optional): In a saucepan, whisk ¼ cup flour with 1 cup cool water until lump-free. Heat over medium, stirring constantly, until it thickens to a thin pudding consistency, about 3–5 minutes. Remove from heat and cool. Thin with a little water if it gets too thick.
- Strain if needed: For extra smoothness, press the paste through a fine sieve or give it a quick blend with an immersion blender.
- Prep your paper: Tear newspaper or paper into strips. Tearing (not cutting) gives soft edges that blend better.
- Dip and apply: Dip each strip into the glue, then run it between two fingers to remove excess. Smooth it onto your form, overlapping edges slightly.
- Layer smart: Aim for 2–4 thin layers at a time. Let each set dry before adding more. Thin layers dry faster and crack less.
- Dry completely: Allow your project to dry in a warm, ventilated spot. Turn it occasionally so all sides dry evenly.
- Finish: Once fully dry, lightly sand any rough spots, then prime and paint. Acrylic paints work well, and a clear sealer adds durability.
Printable Recipe Card
Want just the essential recipe details without scrolling through the article? Get our printable recipe card with just the ingredients and instructions.