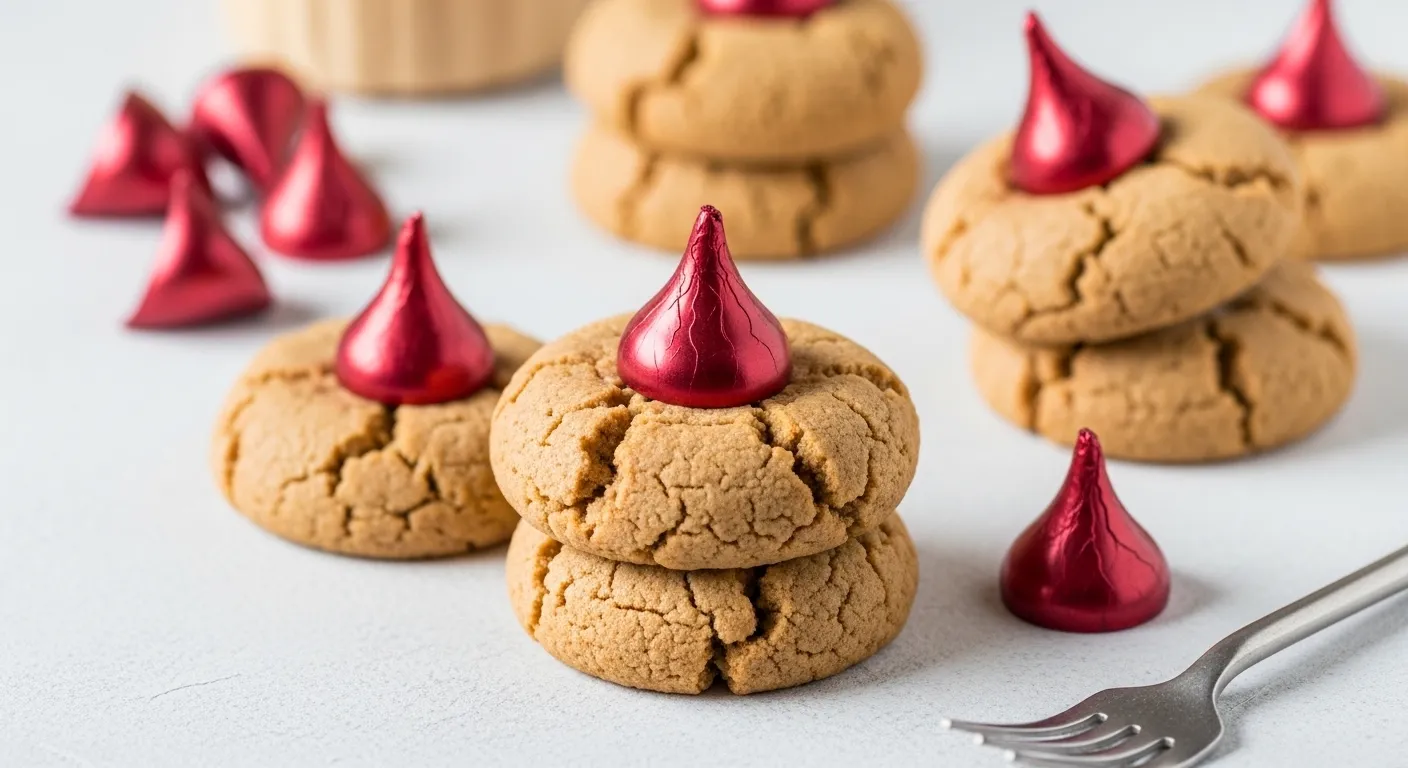
Best Homemade Peanut Butter Kiss Cookies Made with Love
So, you’re standing in your kitchen, staring at a jar of peanut butter and a bag of chocolate kisses, wondering if it’s socially acceptable to just eat them both with a spoon and call it a day. I mean, it is, but we can do better. We’re going to level up that craving into the legendary Peanut Butter Kiss cookies—you know, the ones that make you feel like a kid again but with the added bonus of being an adult who can eat seven in one sitting without anyone telling you “no.”
Why This Recipe is Awesome?
Let’s be real: some cookie recipes require a chemistry degree and the patience of a saint. This isn’t one of them. These cookies are practically idiot-proof, which is great news for those of us who have definitely “accidentally” set off a smoke alarm or two.
The texture is that perfect, soft-yet-crumbly peanut butter base topped with a solid hunk of chocolate that gets just melty enough to be dangerous. They look fancy enough to bring to a potluck and make everyone think you’ve spent hours slaving away, when in reality, you probably spent half the time licking the beaters. Plus, they’re the ultimate crowd-pleaser. Seriously, if someone doesn’t like these, you might want to re-evaluate that friendship.
Ingredients You’ll Need
Grab your apron (or just that old t-shirt you don’t mind getting flour on) and round up these suspects:
- 1/2 cup granulated sugar: For that classic sweetness.
- 1/2 cup packed brown sugar: This is what makes them chewy and magical.
- 1/2 cup creamy peanut butter: Don’t even think about using the “natural” oily stuff here; we need the processed goodness for the right structure.
- 1/2 cup softened butter: Real butter, please. Your soul will thank you.
- 1 egg: The glue holding your life—and these cookies—together.
- 1 1/2 cups all-purpose flour: The bulk of the operation.
- 3/4 teaspoon baking soda: For a little lift.
- 1/2 teaspoon baking powder: Because one leavening agent just wasn’t enough.
- A pinch of salt: To balance out the sugar rush.
- About 36 Hershey’s Kisses: Unwrapped. Yes, unwrapping them is the most “difficult” part of this recipe. Try not to eat five of them during the process.

Step-by-Step Instructions
Ready to make some magic? Follow along, and try to keep the flour off the ceiling.
- Preheat your oven to 375°F. Do not skip this. Putting dough into a cold oven is a recipe for sadness.
- Cream the sugars and fats. In a large bowl, beat the granulated sugar, brown sugar, peanut butter, butter, and egg until the mixture is smooth and fluffy.
- Mix in the dry stuff. Stir in the flour, baking soda, baking powder, and salt. It’ll become a nice, stiff dough that’s incredibly tempting to eat raw (but don’t… or do, I’m not your mom).
- Roll into balls. Shape the dough into 1-inch balls. If you want to be extra, roll them in a little extra granulated sugar for a sparkly finish.
- Bake them. Place them about 2 inches apart on an ungreased cookie sheet. Bake for 8 to 10 minutes until the edges are just lightly golden.
- The “Kiss” moment. Immediately after taking them out of the oven, press a chocolate kiss firmly into the center of each cookie. The cookie will crack around the edges—this is the signature look, so embrace it!
- Let them cool. Transfer them to a wire rack. The chocolate will get soft and shiny, then re-harden. Wait for them to set before stacking, unless you want a chocolatey landslide.
Common Mistakes to Avoid
We’ve all been there. Avoid these pitfalls to ensure your cookies actually make it to the plate:
- Using cold butter. If your butter is a brick, your dough will be lumpy. Soften it, but don’t melt it into a puddle, or your cookies will spread like a rumor in a small town.
- Forgetting to unwrap the Kisses beforehand. Seriously, the cookies cool down fast. If you’re fumbling with foil while the cookies are setting, the chocolate won’t “stick” or melt into the center properly. Unwrap first, bake second.
- Overbaking. These cookies should look slightly underdone when you pull them out. They’ll firm up on the hot pan. If they look like hockey pucks in the oven, it’s too late.
- The “Squish” factor. Don’t press the kiss too hard or you’ll go straight through the bottom of the cookie. Firm, but gentle—like a handshake with someone you actually like.
Alternatives & Substitutions
Feel like living on the edge? Here are some ways to swap things around:
- The Chocolate Swap: Not a fan of milk chocolate? Use Dark Chocolate Kisses or even those striped white chocolate ones. IMO, the dark chocolate version is actually a game-changer for those who find the original too sweet.
- Crunchy PB: If you like a little texture, go ahead and use crunchy peanut butter. It adds a nice rustic vibe.
- Gluten-Free: You can usually swap the all-purpose flour for a 1:1 gluten-free baking blend. Just check the consistency; if it feels too dry, add a tiny splash of milk.
- Almond Butter: Technically possible, but it changes the flavor profile significantly. It’s like the cookie’s sophisticated, slightly more expensive cousin.
FAQ.s
Can I make the dough ahead of time?
Absolutely! You can chill the dough in the fridge for up to 24 hours. Just let it sit at room temperature for a bit before rolling so you don’t break a wrist trying to scoop it.
Why did my Kisses melt into a puddle?
Did you put the chocolate on before baking? Rookie move. The kisses go on the second the cookies come out of the oven, not a second before. If they’re melting too much afterward, your kitchen might just be really warm.
Can I use margarine instead of butter?
Well, technically yes, but why hurt your soul like that? Real butter provides the flavor and the structural integrity that margarine just can’t replicate. Treat yourself.
Do I really need to roll them in sugar?
Need to? No. Should you? Yes. That extra crunch on the outside makes the texture 100% better. Plus, it makes them look like you actually know what you’re doing.
My cookies are flat! What happened?
Your butter was likely too warm, or you over-creamed the mixture. Next time, try chilling the dough balls for 15 minutes before popping them in the oven. It helps them keep their “puffy” shape.
How do I store these?
Keep them in an airtight container at room temperature. They’ll stay fresh for about 5 days, assuming they actually last that long without being devoured. FYI, they also freeze beautifully if you want to hide a stash for later.
Final Thoughts
There you have it—the world’s most comforting cookie simplified for the modern, slightly-distracted baker. They’re sweet, salty, and look a whole lot more impressive than the effort required to make them.
Now go impress someone—or yourself—with your new culinary skills. You’ve earned a glass of milk and a plate full of these. Just try to leave at least one for someone else, okay? Happy baking!
Printable Recipe Card
Want just the essential recipe details without scrolling through the article? Get our printable recipe card with just the ingredients and instructions.